Description
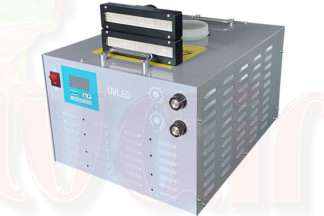
Stand-alone Led Lamp System
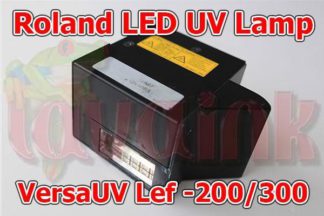
Lavaink provides a stand-alone led lamp system. Only thing you need to do is find out the shutter signal and connect them to our system. It supports all kinds of UV printers such as Agfa, Gerber, Cet, Vutek and Roland Mutoh Mimaki. Our price is just a fraction of a OEM lamp system.
How to maintain the water cooling system?
We have mixed it with a little bit of car antifreeze (concentrated not premixed) in a ratio of 20% antifreeze to 80% water and the corrosion preventers and antigrowth chemicals in it make it last far longer than normal water. For the extra ~$30 or so to make sure it does not happen I think it was worth it. The same water has been in the system for two years now and is still looking good and clear I would strongly recommend doing it on every single system!
Advantages Stand-alone Led Lamp System over mercury lamp:
Lavaink LED UV lamp Advantages (1 piece)
- $500 each, lasts up to 12000 hours
- Installation costs ~$500
- No warm-up period needed for operation and save up to 60 minutes each day
- Can print on a wider variety of materials
Mercury lamps disadvantages (20 pieces for hour-equivalence)
- $5000 for 12000 hours
- Installation costs ~$10000
- Needs 5 minutes of warm up for each job
- Thin materials will warp from heat


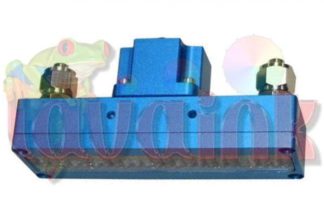
- Two led lamps. Dimensions: 140~200 mm Length * 50 mm Width * 60 mm Height. Only these lamps are required to be replaced after 20000 hours. My experience lamp life is about 2~ 4 years. Each lamp will be 500 USD in the future.
- Water cooling system.
- Power supplies.
- All tubes and cables.
- 300 usd delivery fee to USA only. Other countries maybe different delivery fee.
- You should install it yourself.
- After conversion, you can use any third party led uv ink.
In fact, it’s easy for any electrician to do this installation.
Just follow our instructions.
Remember, you must do the following things before installation of Stand-alone Led Lamp System:
- Turn off all power.
- Make sure there is no static electricity in your machine.
We need to modify two pairs of wires which are inside a big cable to your lamp and shutter. Along-side these are another pair, for a total of six wires in this big cable to your lamp and shutter. To clarify, I will proceed to identify all the wires in this cable. But remember, you only need to work with the two of these pairs.
These are what you will find in the cable to your lamp and shutter:
- Two thick wires are for lamp power. It is at least 240 voltage and 10~20 amp thick wires. We do not need to do anything with these, leave them alone.
- Two shutter wires. Normally it’s either 5 DC or 24 DC. It’s voltage must be between 5 and 32 DC. We need these two wires to go to my system.
- Two heater sensor wires. Normally it’s 5 DC. The next step can vary by specific machine so requires a bit of a test. Unmodified, these wires lead to the heat sensor, which depending on your machine, either close or open a circuit to signal that it has warmed-up. We want to modify these so that they always give the warmed-up signal, because after our modification we won’t have any warm-up period to wait for. So with the sensor in warmed-up state, test to see whether there is a closed or open circuit between these wires. Whatever state it is while the sensor is warmed-up, that is the one we want. So if it was a closed circuit, we want to connect these wires and permanently bypass the sensor. If it was open, we want to cut the wire to permanently open the circuit. After this modification, this results in getting us the desired state without waiting for the warm-up period. Stand-alone Led Lamp System.


