Description
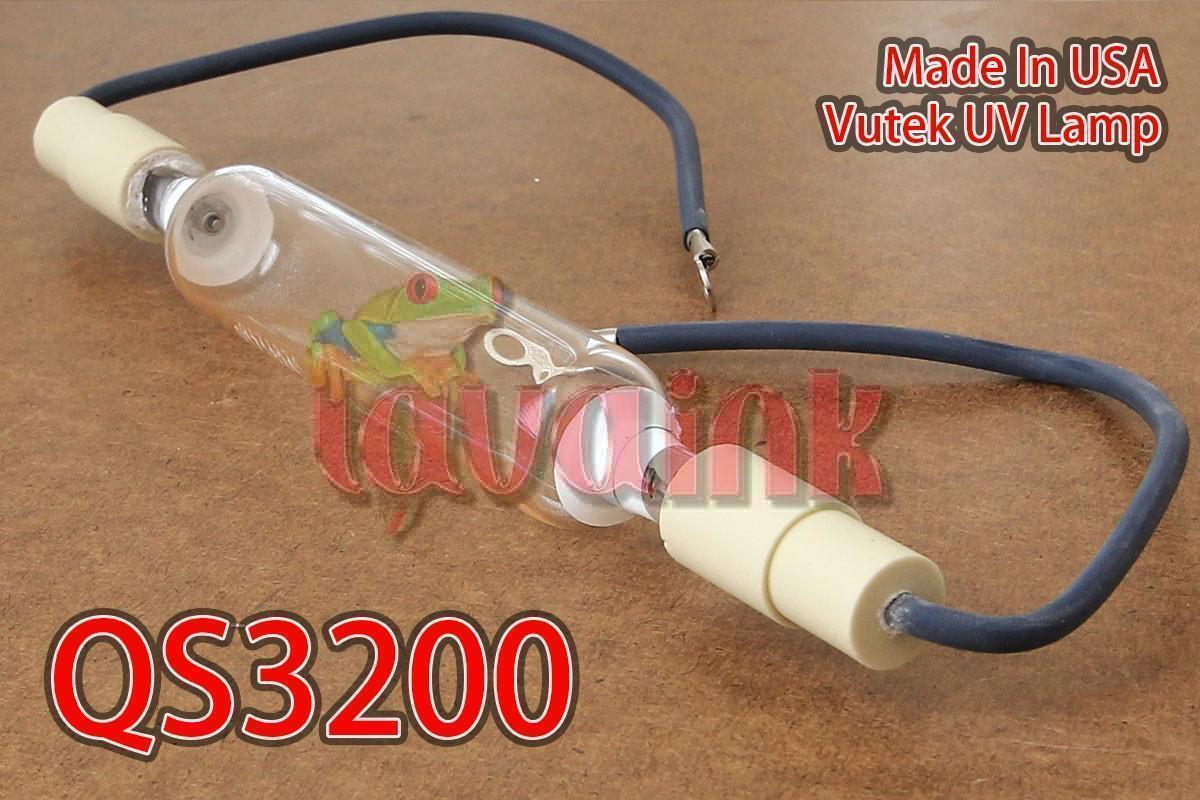
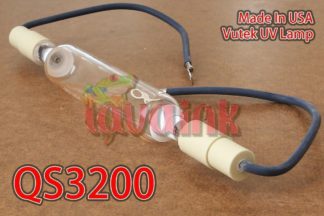
VUTEk QS3200 UV Lamp PS4966A
This VUTEk QS3200 UV Lamp PS4966A is not only for VUTEk QS3200 but also for the following VUTEk printers:
PressVu UV 320/400,QS2 Pro,QS2000,QS220,QS3 Pro,QS3200,QS3200r,QS3220, QS3250r. And also for Durst Rho 160.
- Fill: Mercury
- Quartz: Standard
- Total Length: 9.5″(241mm)
- Arc Length: 6″(152mm)
- Tube Diameter: 1″ (26 mm)
- Watts Per Inch: 400 WPI
VUTEk QS3200 UV Lamp PS4966A
This UV curing lamp is VUTEk QS3200 UV Lamp PS4966A UV Curing Lamp Bulb digital inkjet printers and that is 100% compatible replacement.
More UV lamp at www.PolarLamp.com
welcome to see you keep colors instructional web series today we gonna walk you through how to properly change the UV lamps on a Lava color large format digital. remember to make sure the printer is turned off. refer to our instructional video on powering off the printer. gather your materials it;s helpful to have a twin screw drivers. in order to have a place for all your materials and keep to have space to perform the lamp replacement. he will need a medium-sized head screwdriver. a small flathead screwdriver up into UV lamp. when changing one UV lamp it’s necessary to replace the other at the same time. disconnect the two wires that power the fame. and the wire that powers the main you be lame. grab your Philips head screwdriver. and remove the three fronts crews on the lamp housing. lift up the cover and set it aside remove the two screws. on the top back mourners the lamp housing up. lift up the lamp housing and place it gently on the flap. grab your flat head screwdriver. and loosen the wires the lamp out at the terminal. then remove the old UV lamp. from the lamp housing replace the old lamp with the new. you be lame two things to remember our. wine be careful when handling the UV lamps.don’t touch the lamp itself with your fingers to make sure it clicks into place on both sides run the two wires into their connectors on a terminal and secure the set screws with your flat head screwdriver make sure that they;re both secure. in certainly in Powys ing back into its position. secure the two back screws for. replace the cover and then secure the three fronts period. reconnect the fans and UV lamp power supplies. make sure that the two wires for the fans snap into place. and then you repeat the same procedure. to replace the other UV lamp.
