Description
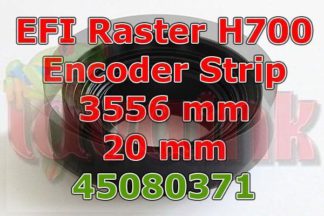
This aftermarket EFI Rastek H700 Encoder Strip 150 – 45080371 is suitable for Vutek Rastek H-700 printers. Lavaink always provides alternative parts at the fraction of OEM EFI Vutek ENCODER Strip price. You can use this EFI Rastek H700 Encoder scale. EFI Rastek H700 Encoder Scale is 20 mm width and 3556 mm length.
How to replace EFI Rastek H-700 Encoder? detail at replace encoder strip and sensor
How to clean EFI Rastek H700 Encoder Strip?
Cleaning tools: Isopropyl Alcohol, Cleaning Swabs and Paper Towels.
Putting two drops of alcohol onto each side of the cleaning swab. Dab the swab on the paper towel to soak up any excess liquid. Wipe the exposed area of the Encoder Strip gently in one direction, do not try to scrub the strip or bend it. Repeat the cleaning for the back of the Encoder Strip strip.
How to repair EFI Rastek H700 Encoder Strip
If you get a bad printer jam hat blocks the carrier this Encoder Strip strip can get disconnected and then the printer can not print anything. We are about to show you how to repair the strip if it is damaged and reinstall it so the printer can function again. The first thing to do is check the strip for damage. Check both ends and make sure the plastic is not torn. The ends should have an opening about 1/4 inch from the end as seen here. If your Encoder Strip strip is torn you can usually repair it with packing tape. Wrap the tape around the end several times and the use a small knife to cut the tape where the original hole was as seen below. Then cut the tape off the strip around the side and end.
How to reinstall EFI Rastek H700 Encoder Strip
Now its time to reinstall the strip. The Encoder Strip strip attaches to retainer brackets and both sides of the printer and is threaded through the printhead carrier in the middle. You will need the carrier to be in the middle of the printer. To get it there you will need to power up the printer and open the cover like you were going to change the print heads. Power up the printer and the print heads should start to move to the side. When they get about the center of the printer you will need to pull the power plug so they stop moving. Connect one end of the Printer Encoder Strip strip as seen here.
Now thread the Printer Encoder Strip through the carrier as seen here. The outside opening is about 1/2 inch but the slot the encoder goes in is only about 1/16 in so be patient. Then connect the other end of the Printer Encoder Strip strip. the left hard side is spring metal to tension the strip and keep it tight. Now if you reapply the power to the printer the carrier should move freely and move back to the right side. Close the printer cover and try a test print to see if it work. If you still get a carrier jam then the strip did not get inserted correctly through the carrier. Just disconnect it and try again.